Integrating ChatBob with your Wordpress website.
Incorporating a chatbot, such as ChatBob, can greatly enhance user interaction on your website. It’s there to tackle questions in your absence, facilitate user navigation, and help capture potential leads. If you're using WordPress, here’s how to seamlessly integrate it.
WordPress is a powerful and widely-used content management system (CMS) that offers an extensive range of themes and plugins, allowing users to create unique and dynamic websites. It's user-friendly and versatile, catering to bloggers, businesses, and everyone in between.
To add a chatbot to your Wordpress site, follow this guide:
- Go to your ChatBob dashboard and create a bot if you haven't already.
- Once your bot has finished creating, select the "Add to Website" button.
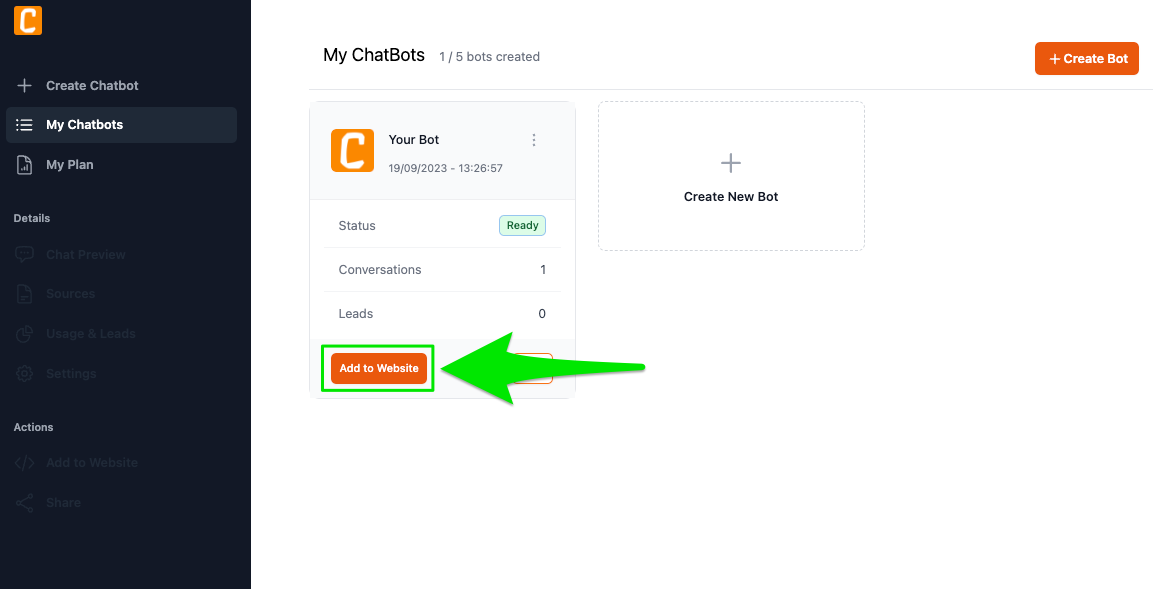
- In the pop-up that appears, copy the
<script...code by clicking the copy icon.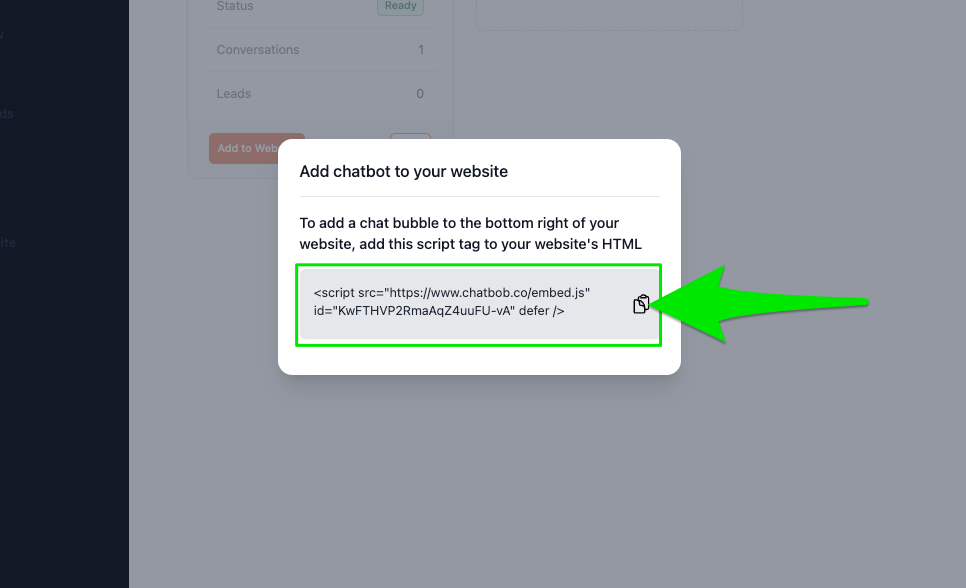
- Next, install the WPCode plugin on your Wordpress site. If you want help installing WPCode, head to the bottom of the page.
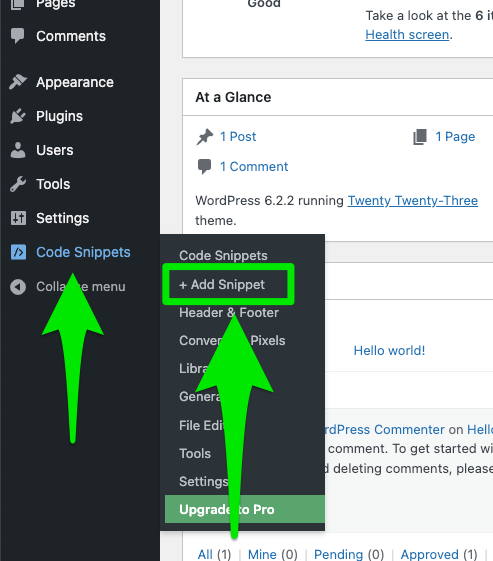
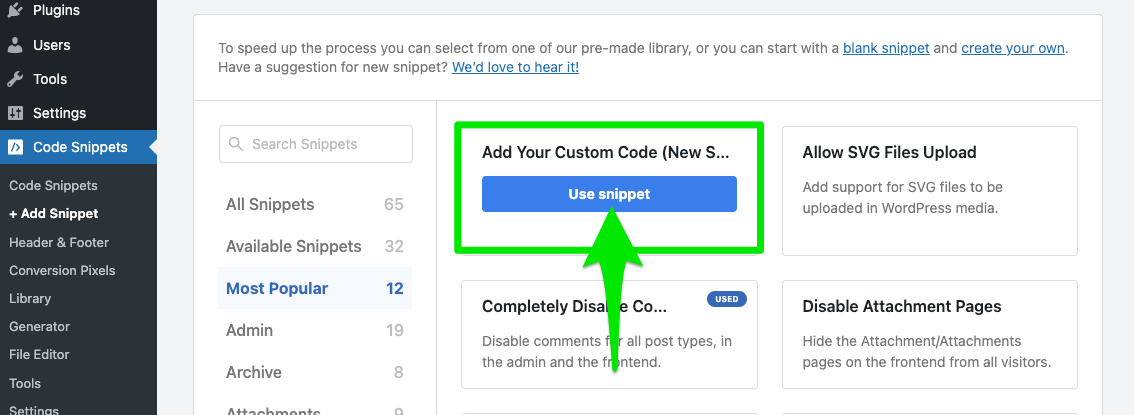
- After installing and activating WPCode, there should be a new entry in your menu bar on the left called "Code Snippets". In that entry, go to "Add Snippet"
- In the next screen click the "Use Snippet" button in the card titled "Add Your Custom Code". (The "Use Snippet" button only appears when you hover over the card with your mouse.)
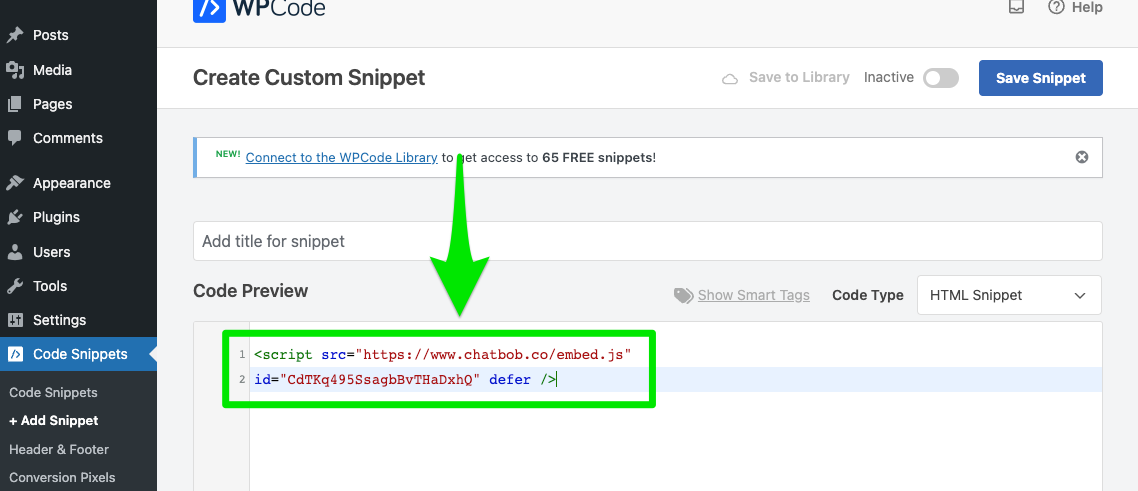
- Now, enter the script tag copied in step 3 in the "Code Preview" text box.
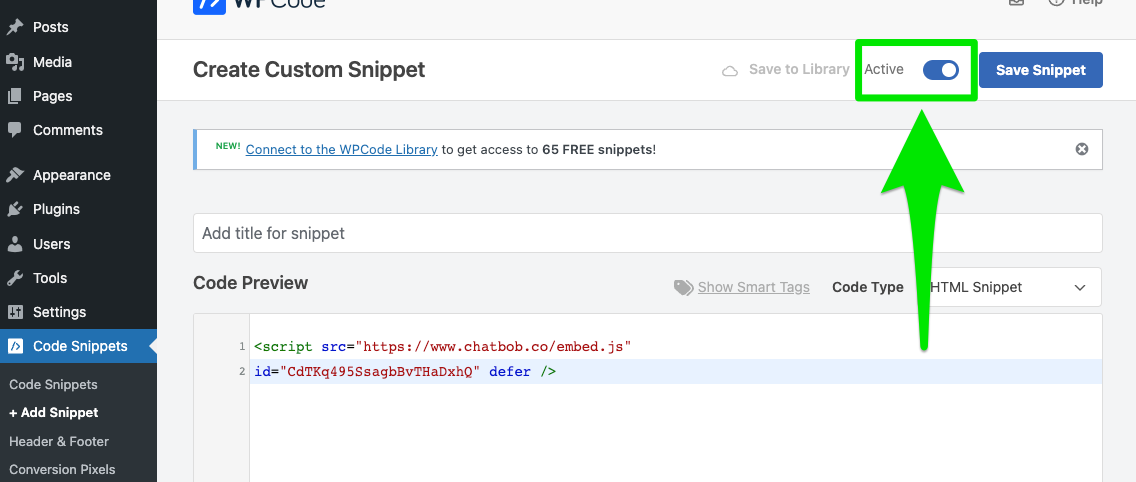
- Finally, you need to click the "Activate" toggle switch and then the "Save" button. Make sure The menu bar says "Active", like in the image
- The bot should now appear on your page.
Installing WPCode
In case you already have WPCode, you can ignore these instructions. In case you want help with the installation, follow the steps below.
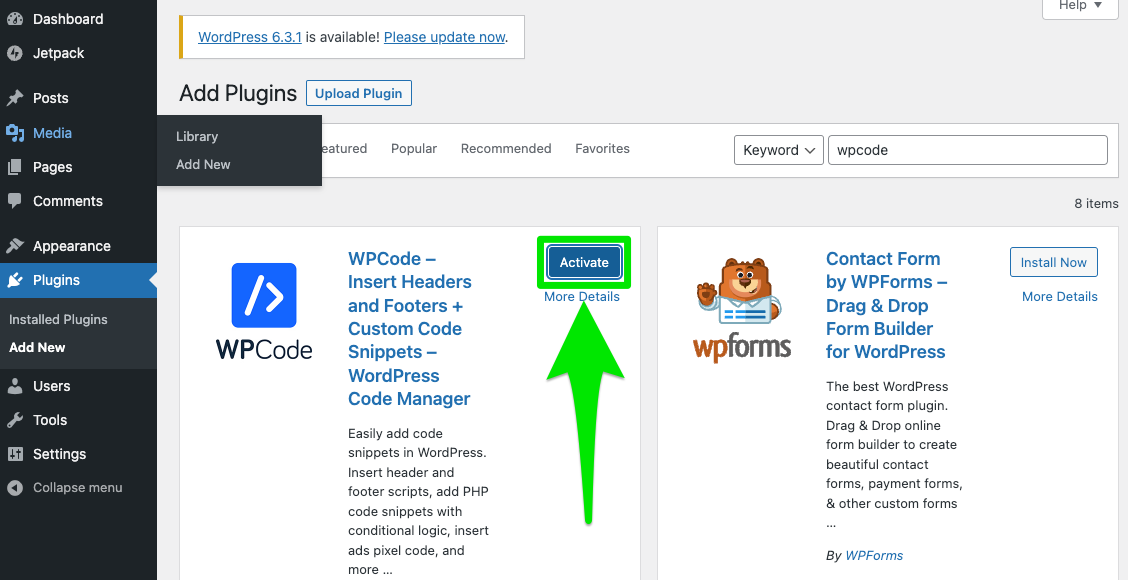
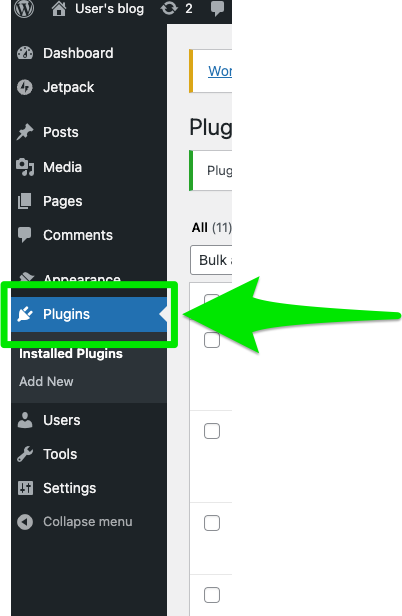
- In the Wordpress admin dashboard go to "Plugins"
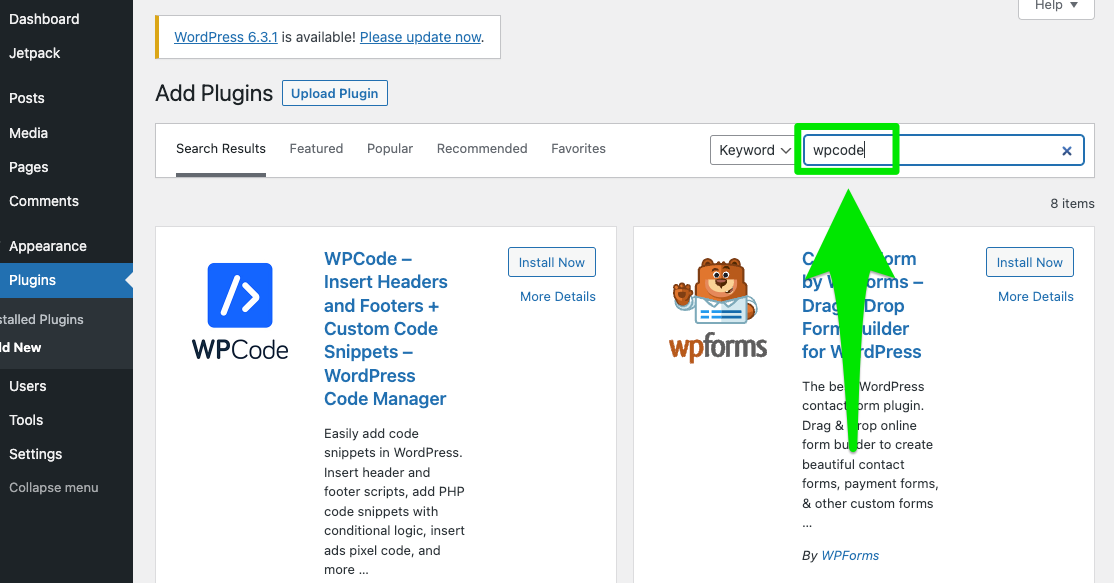
- Enter "WPCode" in the search bar on the top right
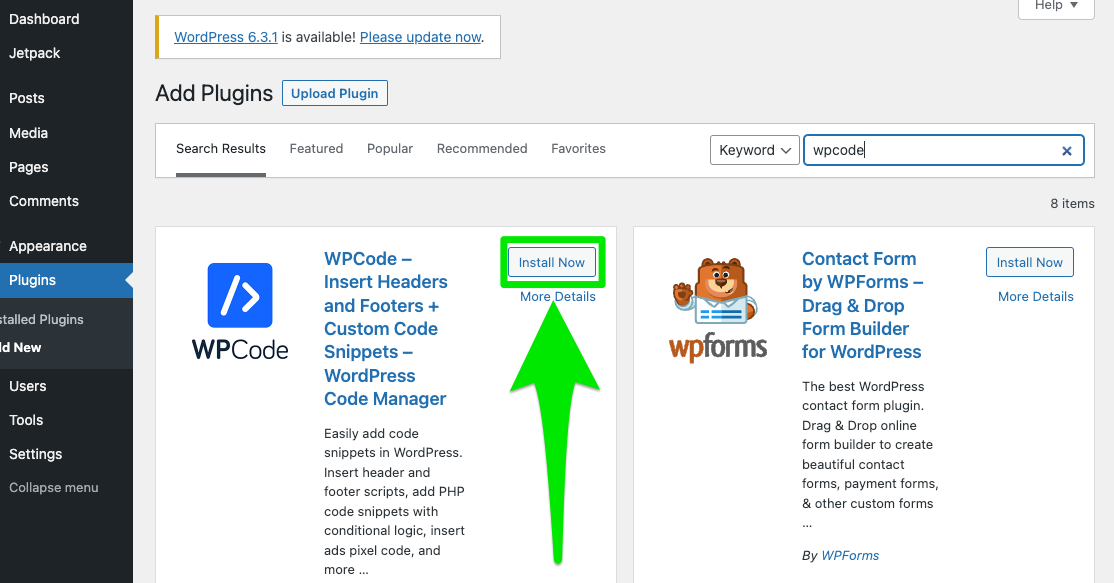
- Click install for the card that says "WPCode"
- After install, don't forget to activate the plugin
